
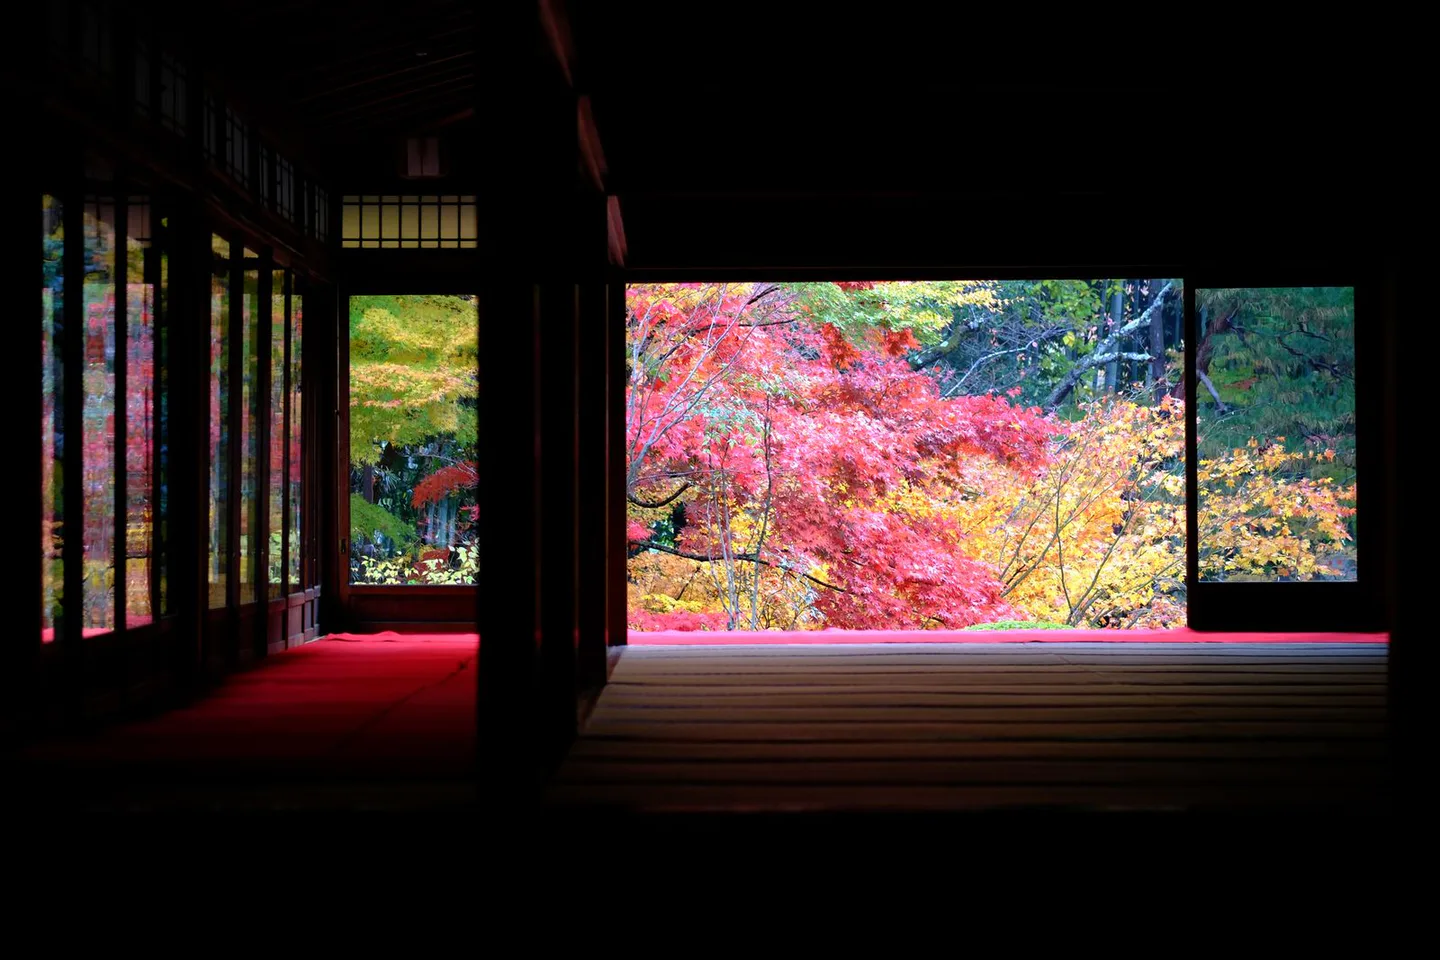
An autumn photograph starts with the subject and the access window. A lake reflection may justify sleeping nearby and going out early; a temple garden cannot be photographed before it opens; a night illumination depends on its separate entry period and the trip home. Choose the scene you most want before packing lenses or booking a hotel. That decision determines whether dawn, a cloudy afternoon or a wet evening is actually useful.
Site rules are part of that planning. Eikando's current visitor guidance prohibits tripods and similar supports within its grounds, bans photography inside temple buildings apart from the garden, and restricts selfie rods indoors and in crowded outdoor areas. Other sites set their own conditions. Read the rules for the exact place and date, then follow on-site directions if access changes.
Give each scene its own light window
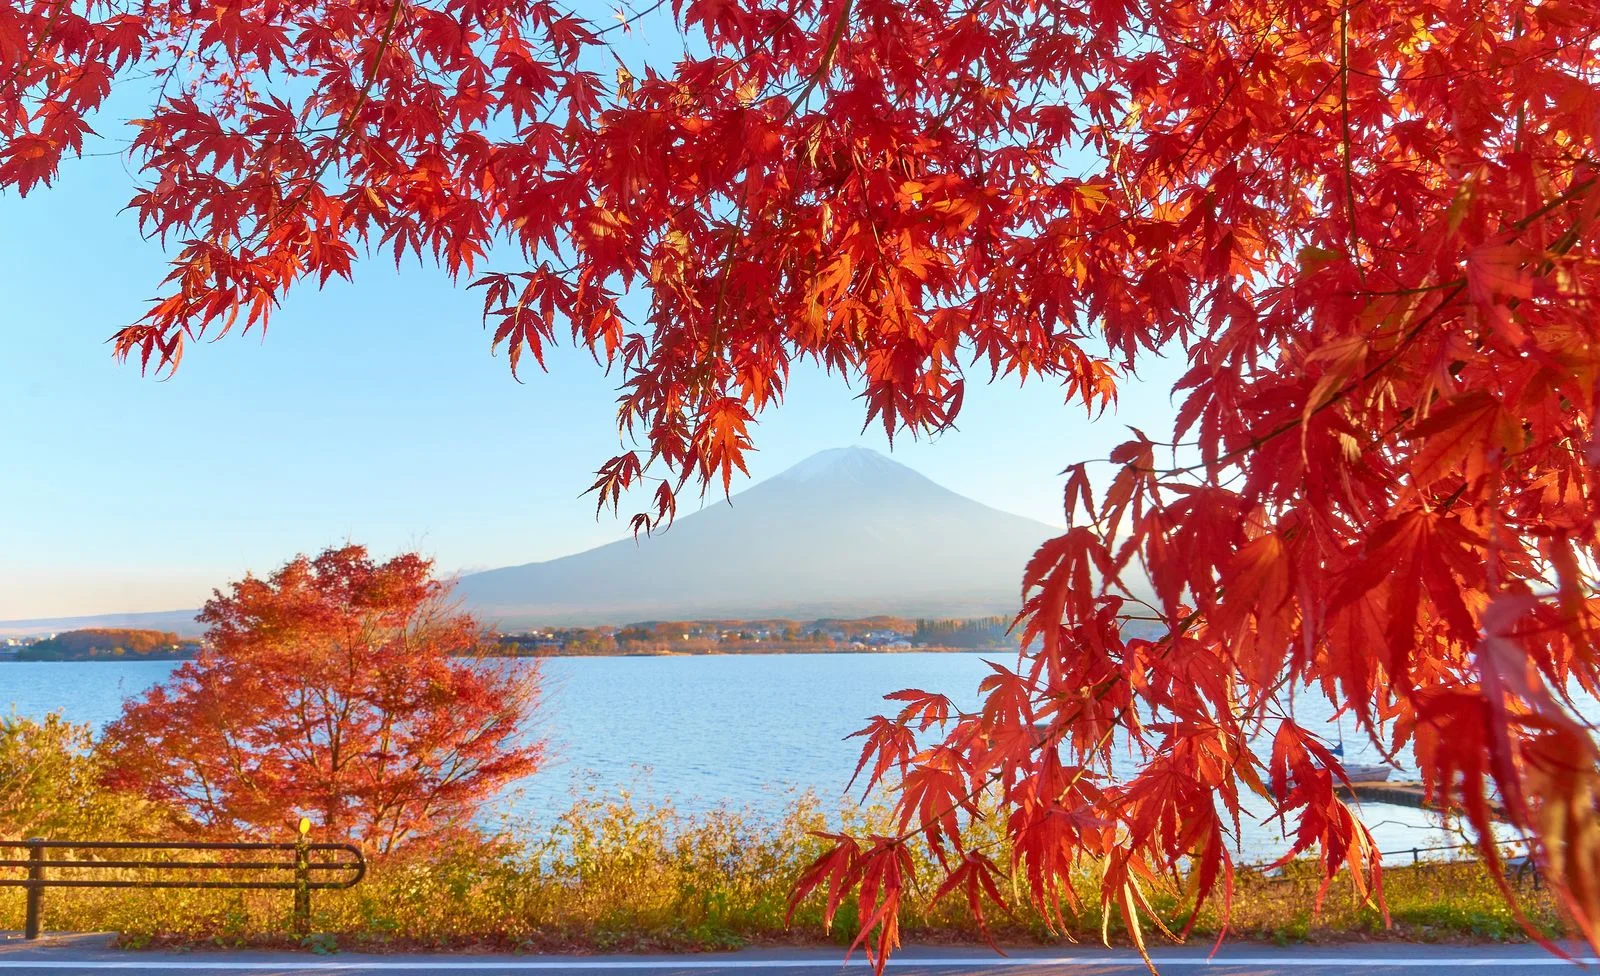
Morning favors water, mist and a possible view of Mount Fuji when the weather cooperates. It also helps at busy outdoor viewpoints, but only if transport reaches the place safely before the useful light has passed. For gardens and temple grounds, first admission often matters more than sunrise itself. A nearby hotel helps only if it gets you to the gate or waterfront at the hour you need.
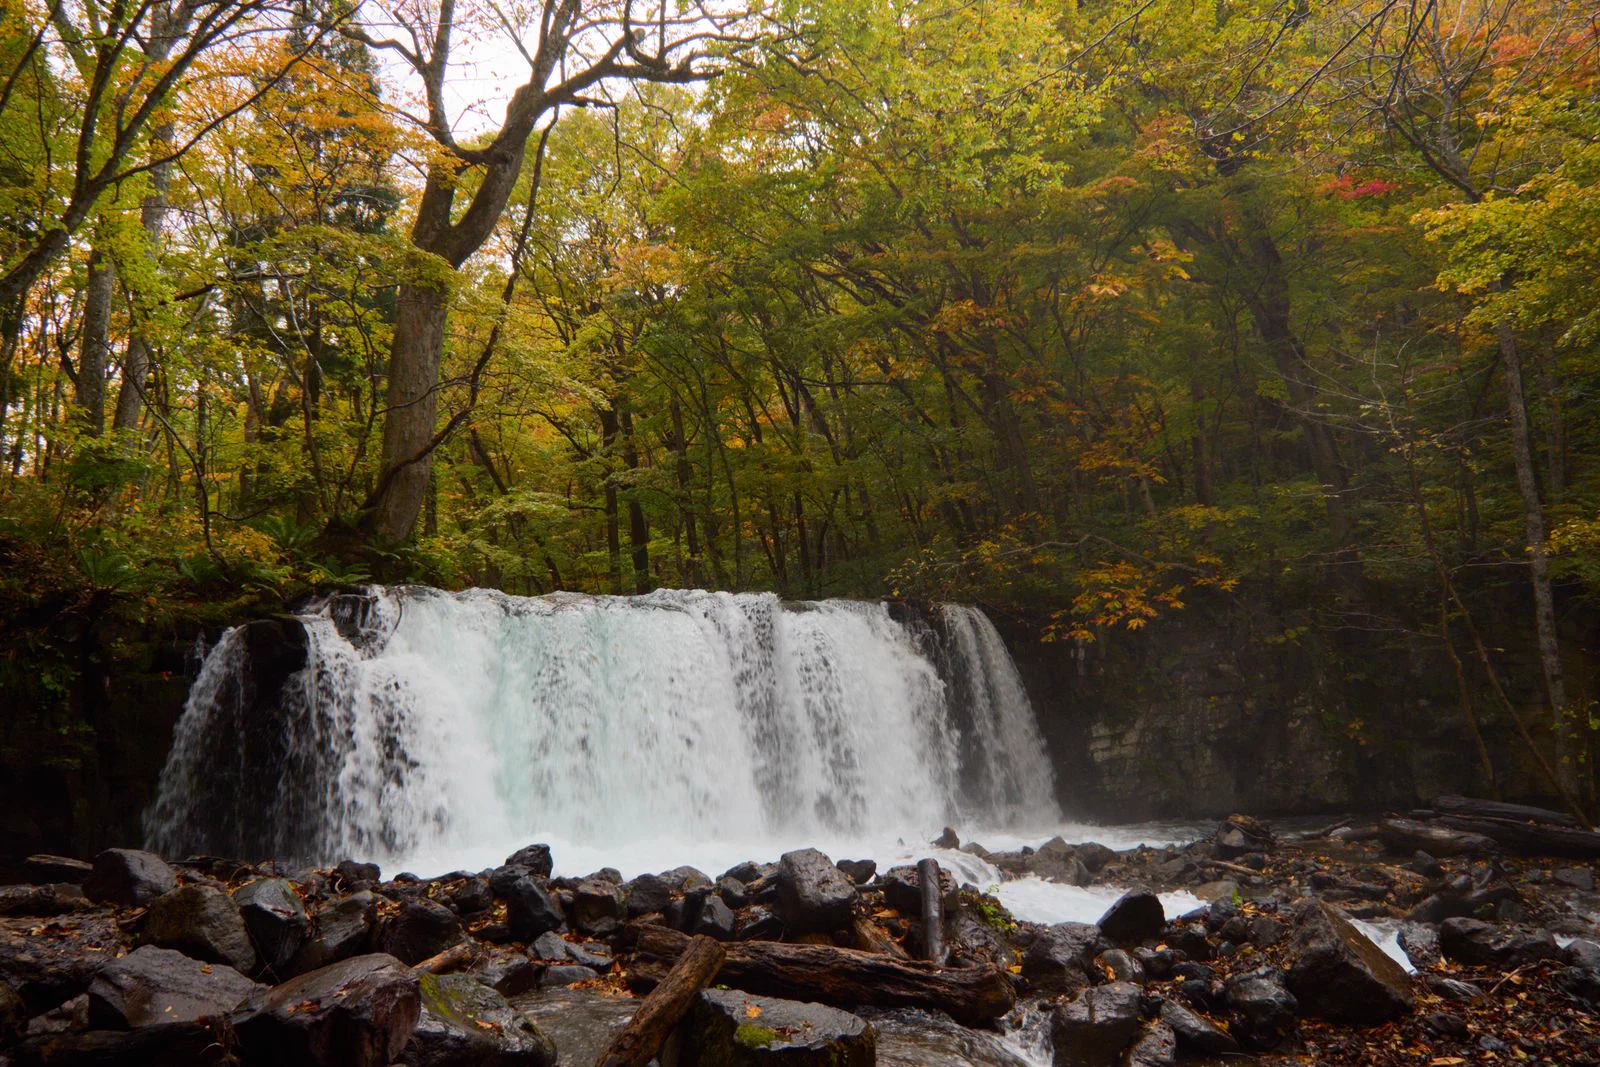
Cloud is valuable in forests, along streams and among mossy stone because it softens contrast. A bright noon is not wasted: side-lit buildings, shadows under gates and backlit leaves can work well, while a longer focal length can separate layers of hills. At night, lamps and remaining blue sky can balance briefly. Check the final entry, expected queue and last train before deciding that twilight will be spent at a distant illumination.
Use the weather to change subjects
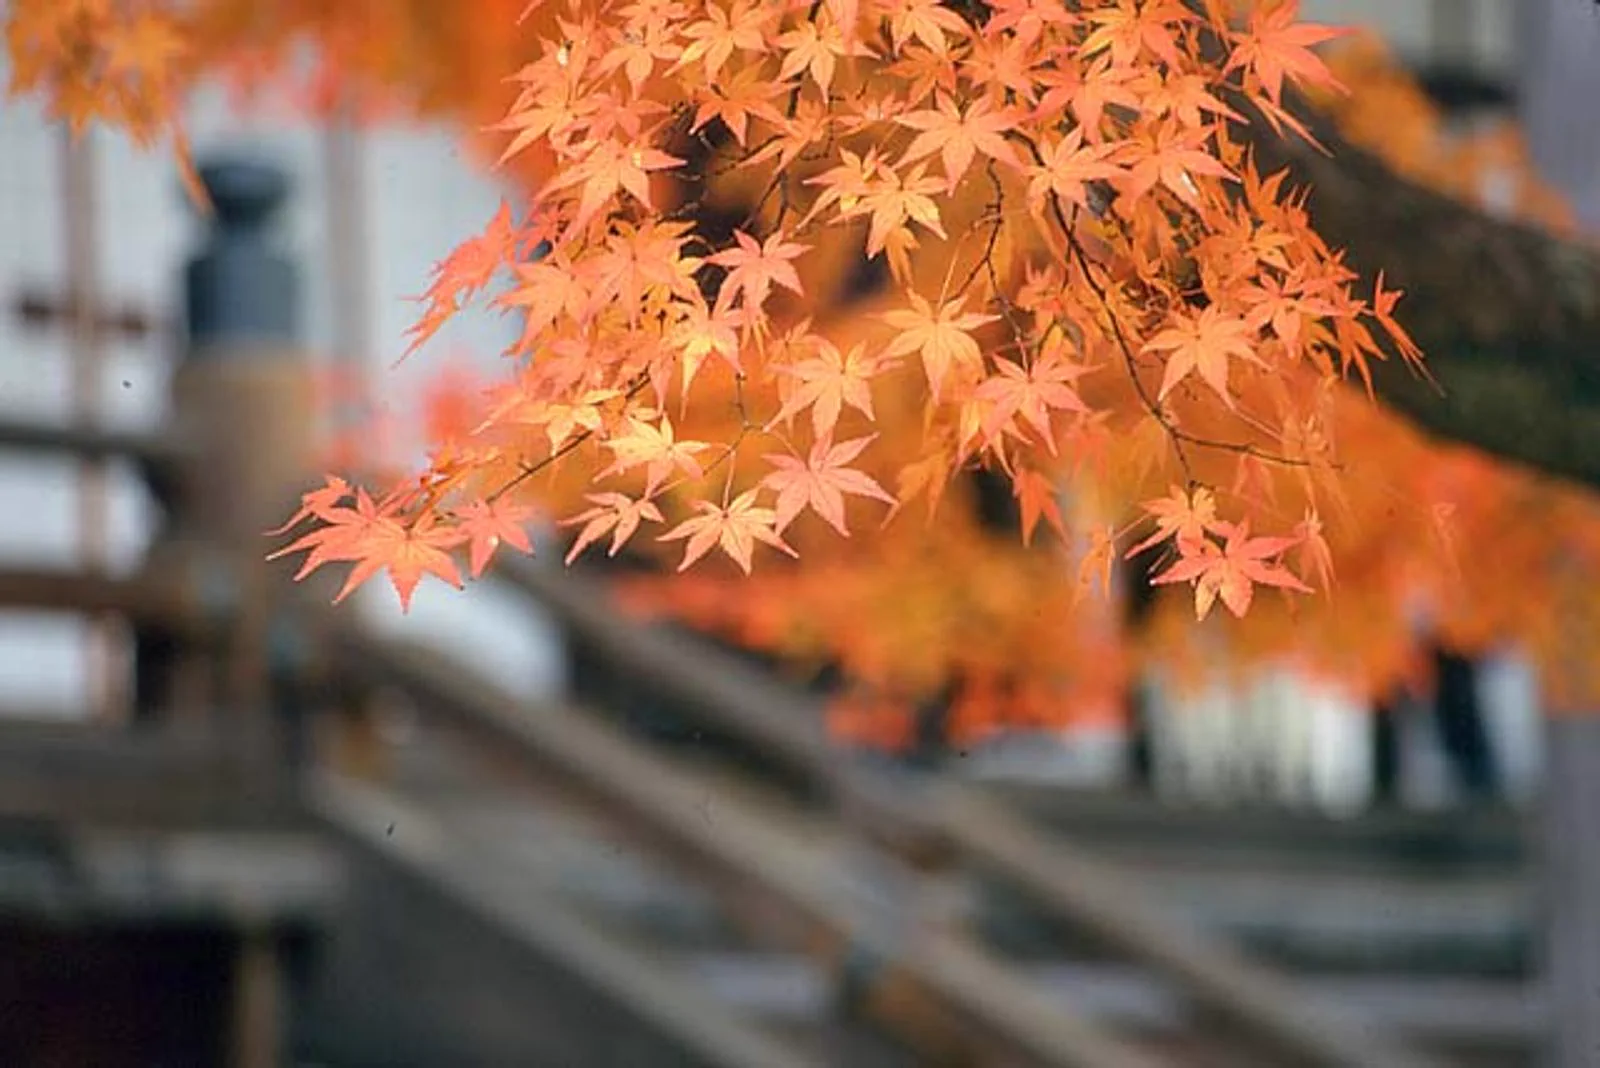
In sun, preserve the bright color of the leaves. On a phone, tap a luminous leaf and lower exposure until its texture returns; on a camera, watch highlight warnings or the histogram. Let shadows stay dark if that gives the foliage depth. Backlight can make individual leaves translucent. Moving a few steps to put a roof edge or branch behind them often does more than another exposure adjustment.
Under a flat grey sky, point the frame downward or inward: a stream, stone path, close branch or temple wall gives color a quieter background. Rain adds shine to leaves, umbrellas, paving and water, provided the weather and ground are safe. Carry a simple cover and two dry cloths, one for the lens and one for hands or camera body. When entering a warm building from cold air, leave the camera inside its bag briefly so condensation forms on the bag rather than the equipment.
Heavy rain, lightning and strong wind change the route rather than the camera settings. Remove cliff edges, riverbanks, exposed platforms and long wet trails. A garden near the hotel, museum, station concourse or covered arcade can still yield an interesting record of the day. Avoid walking backwards on slick steps to adjust a composition, and do not remain on a remote trail after dark trying to salvage a photograph.
Get more from a phone before buying more equipment
Start by cleaning the lens. Use the main camera for most scenes and a native telephoto when it helps remove background clutter; extreme digital zoom usually gives up detail for reach. Focus on the subject, then lower exposure if bright red leaves or lamps have turned into featureless patches. For moving people, deer or branches in wind, take a short burst instead of relying on a long night-mode exposure.
For still night scenes, brace the phone against your body and take several frames, while keeping paths and railings clear. Do not make lamps look like midday sunlight through aggressive brightening: the contrast is part of the scene. Choose a vertical or horizontal video frame for the way the clip will be shown. A few deliberate clips of the setting, a detail and some movement will be easier to edit than a long recording of every step.
Cold weather and a bright screen can drain a phone faster than expected. Keep a power bank accessible but protected from rain, and warm batteries in an inner pocket when temperatures fall. Save the route and return schedule offline before entering a valley with weak mobile service. A working phone is also your navigation and ticket tool, so photography should not spend its last charge.
Carry lenses for actual scenes on the itinerary
A standard zoom is enough for most temples, streets, portraits and broad landscapes. Bring a wide lens for tight interiors or strong foreground only when the site permits photography; otherwise it can make crowds and blank sky more prominent. A telephoto can simplify a dense woodland or compress ridges, Fuji and foliage into a layered image. A fast prime is useful for people and night streets, though its fixed view is less forgiving when movement is restricted.
Handholding calls for a shutter speed that accounts for your movement and the subject's. Leaves move even when the photographer is steady; so do people on a path. Moderate noise is generally preferable to a clean but blurred frame. Use Auto ISO with a suitable minimum shutter speed, check the brightest part of a sample image, and resist changing lenses in a wet or crowded corridor.
Make crowd management part of the composition
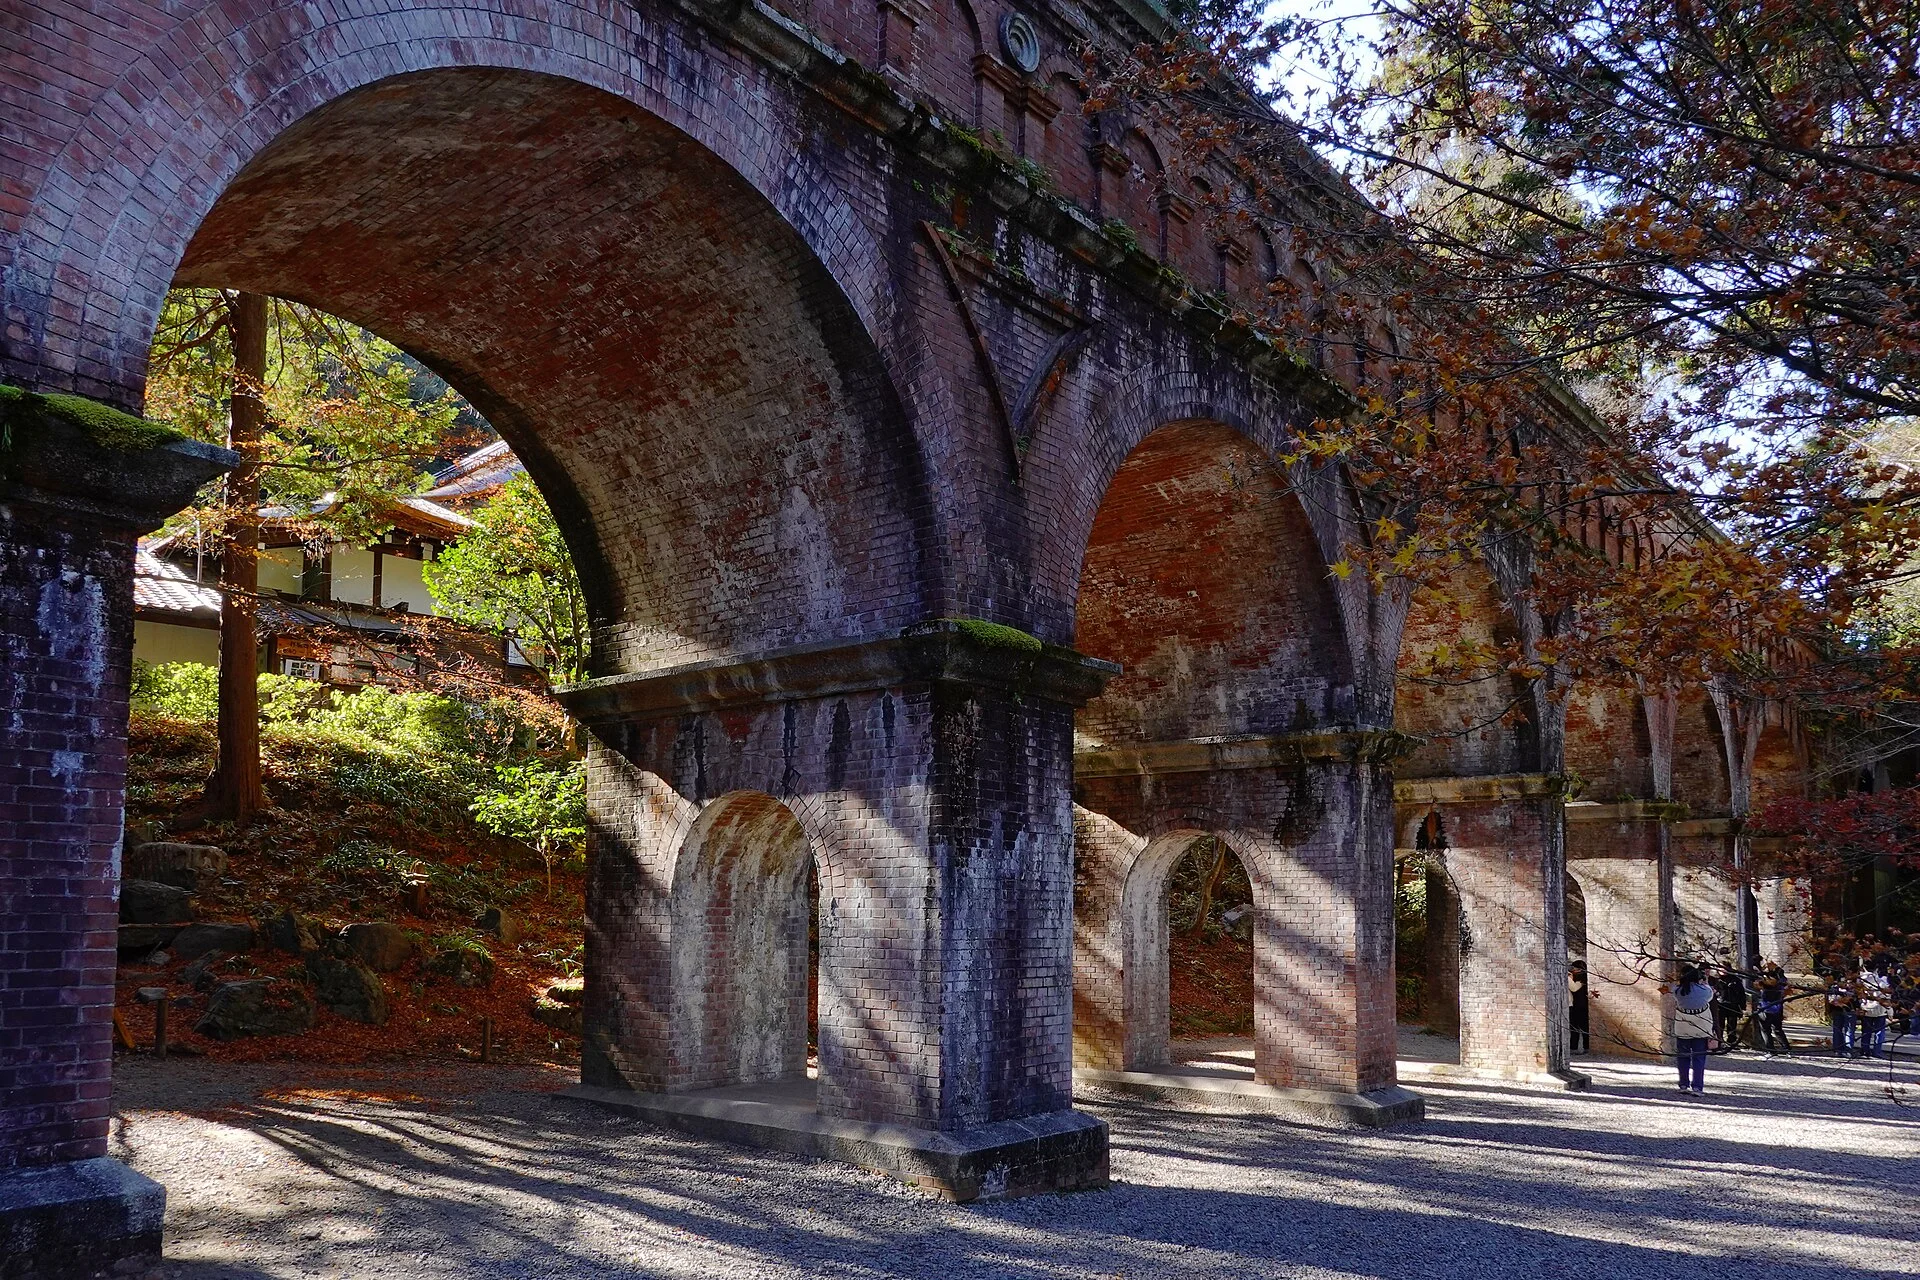
A quieter arrival time can help, but famous sites rarely stay empty. Frame through a gate or trunk, use a tighter angle, wait for a natural gap, or let a few people show the scale of the place. For a portrait, prepare the background and settings before the person steps into position, then leave space for others. Never occupy a bridge, narrow path or worship area while waiting for a perfect frame.
Respect ropes, moss, private homes and road edges. Ask before taking a recognizable close photograph of a stranger, especially a child or a ceremony participant. Ordinary admission does not grant drone access, a commercial shoot or permission to photograph protected cultural objects. If a site prohibits a tripod or monopod, do not substitute a railing or stairway that others need to use.
Pay for an overnight only when it creates another chance
A room near Kawaguchiko can give a Fuji photographer a second morning if cloud covers the first. Sleeping near Oirase may avoid dependence on the first bus from a distant city. Miyajima changes character after many day visitors leave, while Kyoto can support separate early and illuminated temple visits. Each example gives the hotel a photographic job; a room that is still far from the subject may not.
When comparing Fuji View Hotel, Oirase Keiryu Hotel, The Westin Miyako Kyoto, Hotel Metropolitan Tokyo Marunouchi or Hotel Granvia Kyoto, check the actual room orientation, final check-in, breakfast hour, luggage acceptance, transport and cancellation terms. The hotel name does not promise a clear view, good weather or access before a site's opening time. A rail-based hotel can be the better choice when rain makes several alternative locations valuable.
If the Fuji and lake morning is the reason for an overnight, compare stays around Lake Kawaguchiko against the intended shore access and cancellation terms.
When the leaves are early, late or already down
Forecasts are planning tools, not a guarantee of color at one tree. Before peak, photograph mixed green and red, higher elevations or backlit individual leaves. After leaf fall, look for color on paths and water, bare branches against architecture, moss and people moving through the changed scene. Shifting subject locally is often more productive than spending half a day chasing a marginally better report in another region.
Back up important files each evening to another device or cloud account when connectivity allows. If a card or camera battery fails, protect the images already saved and use the phone; do not format a card on a mountainside in an attempt to continue. Carry spare batteries or a power bank close to the body, and protect memory cards from rain. A small bag with one useful lens and weather cover can make it easier to board crowded trains and keep a hand free on steps. Leave the main case at the hotel or forward it when the route calls for it.
Build a shot list around changeable conditions
Before committing a day to one famous tree, make a short list of subjects that survive different weather. A clear Fuji morning may justify the lake shore; cloud could shift attention to a close woodland detail or village street. Rain may flatten a wide mountain view yet deepen the colour of leaves against stone and moss. The alternative should be reachable from the same base without losing the best light in a long transfer. This is why a hotel near several viable subjects can be more useful than a room sold mainly on one distant panorama.
Light also changes the route within one site. A backlit leaf or reflection may reward an early circuit; a crowded temple approach might be easier with a narrower composition later. Decide whether the image needs the whole landscape, one person in context, or a detail. That choice determines whether a standard zoom is enough, whether the telephoto earns its weight and how long to wait at a viewpoint. Carrying every lens is no help if the bag prevents a safe walk or delays a quick response to changing light.
When colour is thin, photograph the season that is present. Mixed leaves, fallen foliage beside water, wet pavement and the final light through bare branches can each carry the scene without pretending a peak exists. Keep the same ethical limits: do not step into a field, block a bridge or use a restricted tripod position to manufacture an empty view. A smaller truthful frame is often stronger than an ambitious composition made at the expense of the place and its other visitors.
The strongest autumn kit is the one you can operate safely at the chosen place. Set the scene, access and return route first; let equipment serve those decisions.